A while ago, we went over to Mr. and Mrs. Snow’s house and learned how to make cabs. Dan provided the equipment and Connie provided a delicious lunch and took photos so I would have something to write about. Everyone had a lot of fun.
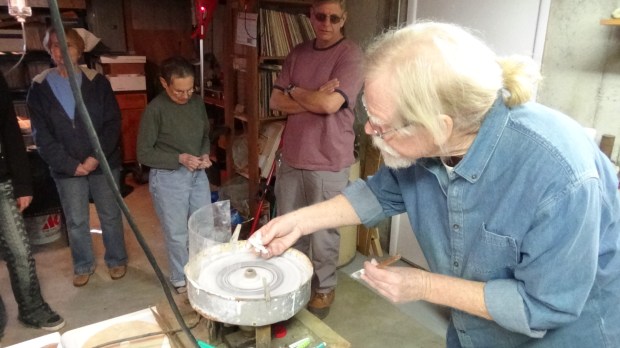
Dan demonstrating how to use a flat lap. Photo by Connie Snow
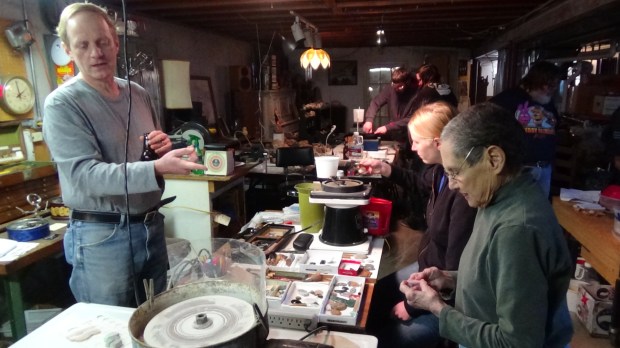
Everyone working hard. Photo by Connie Snow

Jim and Jeanna working. Photo by Connie Snow
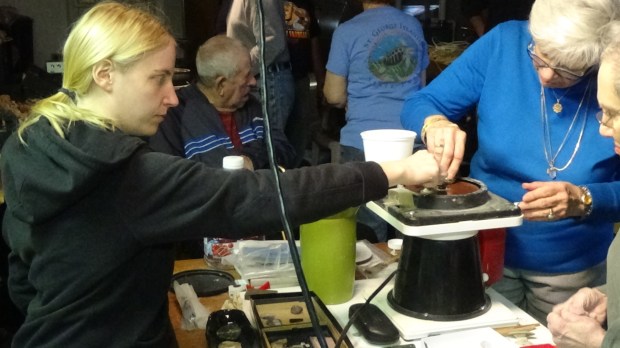
Two people working on the same machine! We even had three people at one point. Photo by Connie Snow
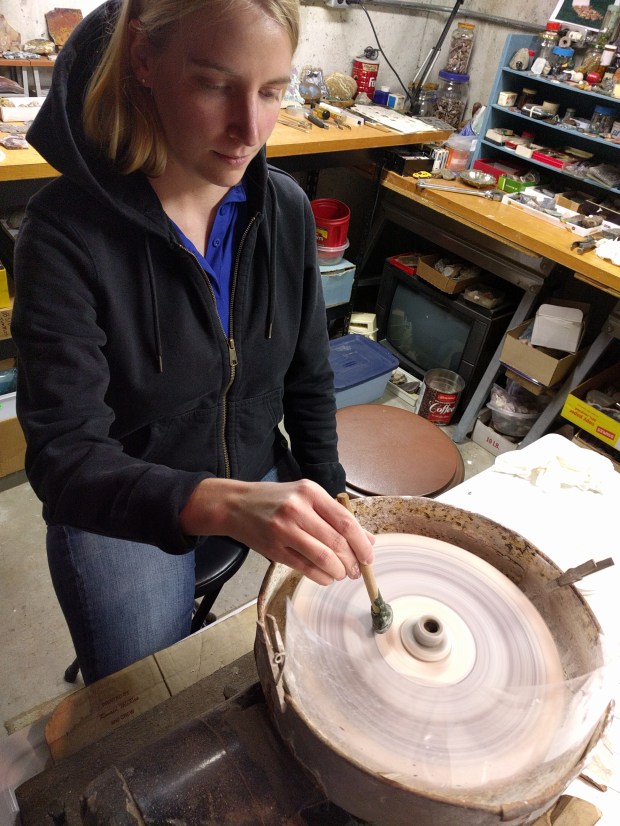
Stephanie polishing her cab. This was her first time ever! Photo by David Reed
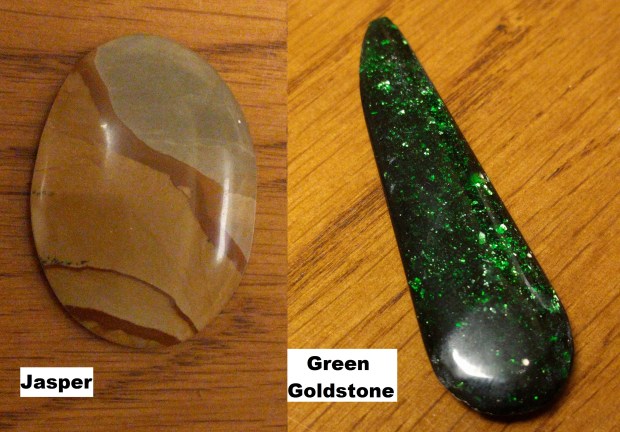
Stephanie’s jasper and David’s green goldstone completed cabs. Photo by David Reed

Martin working. Photo by Connie Snow

Dan, Burt, and Charley discussing something, David shaping. Photo by Connie Snow

Jeanna and Jim proud of their work. Photo by Connie Snow


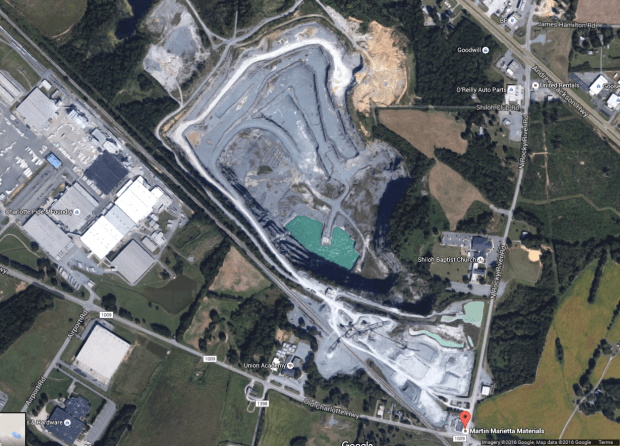
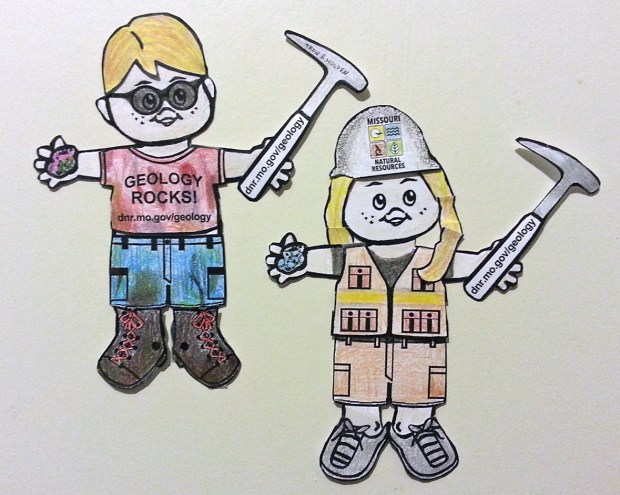 The MO DNR website has these cute little


